
Guide
Which bore gauge should you use to measure a machined hole?
A bore gauge is an inside-diameter measuring instrument that is set to a known size on a master ring or micrometer and then reads how far a hole differs from that size. Short answer: use a two-point dial or digital bore gauge for actual size, taper and out-of-round on deep or larger bores, a three-point internal micrometer for fast, self-centering diameter readings, a plug gauge for go/no-go acceptance of fits, and a CMM when the hole's position or form relative to datums matters.
By Saola Manufacturing engineering team · Published · Updated
Most search results for bore gauges are catalog pages. This guide is about choosing and using the tool: what each type of internal gauge actually measures, how it is set, where its readings mislead, and what to write in a drawing or RFQ so the supplier measures the hole the way the fit needs. For what tolerance a drilled, reamed or bored hole can hold in the first place, see the H7 hole tolerance guide.
On this page
What does each type of bore gauge measure?
A two-point bore gauge measures one diameter at a time between two opposite contacts, a three-point gauge measures with three contacts spaced around the hole and centers itself, and a plug gauge checks whether the hole accepts a perfect cylinder. Each one sees a different "size" of the same hole.
That difference is the key to choosing. A hole is never a perfect cylinder: it can be tapered, bell-mouthed, oval, or three-lobed after drilling or three-jaw chucking. A two-point gauge rotated around the hole shows oval shapes clearly but can read a three-lobed hole as round, because every two-point diameter of an odd-lobed shape can be the same. A three-point gauge picks up odd lobing but averages ovality. A plug gauge does neither; it simply fails to enter if the hole's mating envelope is too small.
ASME Y14.5 describes size in terms of the actual mating envelope and local sizes, so a plug gauge and a two-point gauge are checking two different parts of the same size requirement. For a fit that matters, a supplier usually needs both: a go plug to prove the envelope, and a measuring gauge to prove the hole is not oversize or out of shape. The ASME Y14.5 page lists the 2018 edition, reaffirmed in 2024, as current.
How do you choose between a dial bore gauge, a Holtest, a plug gauge and a CMM?
Choose by what the drawing asks: actual size and shape, a pass or fail on a fit, or position and form relative to datums. Hole depth, diameter range and lot size then narrow the choice.
A useful way to read the table: a plug gauge answers "does it fit?", a bore gauge answers "how big and what shape?", and a CMM answers "where is it?". Most drawings ask at least two of those questions about their critical holes.
| Method | What it reports | Best use | Watch out for |
|---|---|---|---|
| Two-point dial or digital bore gauge | Local diameter at the depth and angle measured | Taper, ovality, deep bores, larger diameters | Must be rocked to the turning point; misses odd lobing |
| Three-point internal micrometer (Holtest type) | Diameter from three contacts, self-centered | Fast diameter readings, blind holes, odd lobing | Averages ovality; reading depends on where the anvils touch |
| Plain plug gauge, go and no-go | Pass or fail against the size limits | Production acceptance of fits | No number, so no trend data or margin |
| Telescoping gauge with micrometer | Transfer of a two-point diameter | Odd sizes when no other gauge is at hand | Operator feel; the weakest of these methods |
| Air gauge | Local diameter by air flow, very repeatable | High-volume parts with one bore size | Dedicated to one size; needs masters |
| Coordinate measuring machine | Diameter, form, position, orientation to datums | Hole patterns, position, cylindricity | Few probe points can miss form errors |
How do you set and read a two-point bore gauge correctly?
Set it on a master ring, or on a micrometer locked to a gauge block, at the nominal size, then rock it in the bore and read at the turning point of the indicator. A reading taken anywhere else measures a chord across the hole at an angle, not the diameter.
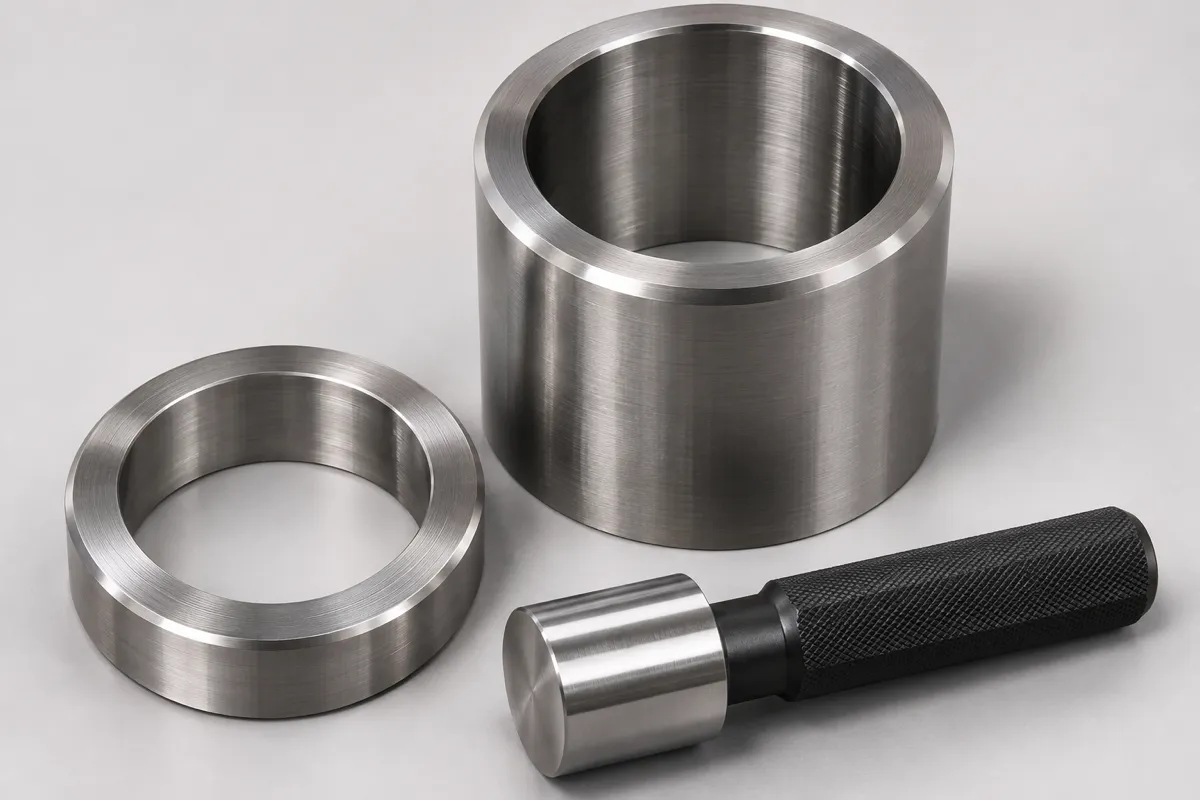
Mitutoyo's quick guide to precision measuring instruments describes three ways to set the reference point: in a ring gauge, by swinging the gauge and zeroing where the indicator turns; with an outside micrometer clamped on a gauge block of the reference size; or with an outside micrometer alone, which it notes takes more dexterity because nothing centers the gauge. A setting ring is the most repeatable of the three, which is why shops that measure one bore size often keep a ring for it.
In the part, the same rocking motion applies. Swing the gauge through the axis of the bore and read at the turning point, then repeat at two or three depths and at two angles about ninety degrees apart. The spread between readings at different depths is the taper; the spread between angles is the ovality. Record the readings, not just "OK", if the hole is a controlled characteristic.
Temperature is the quiet error. A steel or aluminum part straight off the machine is warmer than the setting ring, and both expand. The same guide warns that an inside micrometer loses accuracy if its temperature differs from the part, and recommends holding it only by its heat insulators. Let parts settle to room temperature before measuring, and keep the ring and the part side by side.
When is a three-point internal micrometer the better choice?
Use a three-point internal micrometer when you need a quick, repeatable diameter reading, especially in blind holes or smaller bores, or when odd-numbered lobing from drilling or chucking is the likely defect. It is less useful when ovality is the concern.
The three anvils center the gauge in the hole, so two operators get closer readings than they would with a two-point gauge that has to be rocked. That makes three-point gauges popular for in-process checks at the machine. The trade-off is in what the reading means. Mitutoyo notes that a Holtest reading taken across the full anvil differs from one taken only at the anvil tip, so the start point must be set under the same contact condition as the measurement. In a short bore or a hole with a chamfer, set and measure at the same anvil position.
Three-point gauges also need a gauge for each narrow size range, so a part with many different bore sizes may need a full set or a different method. For one bore size in high volume, a fixed-size gauge or an air gauge is often faster still.
What should the drawing and RFQ say about bore measurement?
State the size, the fit or tolerance class, any form or position control, and which holes are critical; then say what evidence you want, such as measured diameters at named depths on the first article. Name a method only where it matters to you.
A drawing that says "Ø20 H7" only states the limits. If you care about taper in a long bore, add a cylindricity or straightness control, or note "check at both ends and the middle". If the hole locates a bearing or a dowel, flag it as a key characteristic so it gets measured, not only plug gauged. The 10:1 rule guide explains how fine the gauge must be for the tolerance band.
In the RFQ, say whether you expect the first-article report to show measured bore values, and whether every lot needs measured values or only a go/no-go result. A supplier quoting a part with tight bores should tell you how they will measure each one; if the answer is a CMM, ask whether one is available or whether the method needs agreeing.
How are bores measured on Saola parts?
The lead CNC plant's listed inspection equipment is a height gauge, a 2D optical (vision) measuring instrument and a hardness tester, plus go/no-go gauges for threads; it has no CMM. The measuring method for a tight bore or a bore position is agreed at drawing review.
Bores are a large part of the work on the CNC milling page, which describes mostly second-operation machining on castings, and of turned parts on the CNC turning page. If a hole on your drawing needs measured values, cylindricity or positional checks that call for a CMM, mark it in the RFQ; the method, and who measures it, is settled before the first article. The quality page lists the first-article inspection report on new parts and the dimensional inspection record on every lot; ISO 9001 is in progress, not yet held. Send drawings through the quote form.
Frequently asked
Is a caliper good enough to measure a bore?
Only for rough checks on wide tolerances. The inside jaws of a caliper touch a short chord near the hole opening, and caliper accuracy is coarse next to a fit tolerance band.
Why do a plug gauge and a bore gauge disagree on the same hole?
They measure different things. A go plug fails on the smallest mating envelope, including taper and lobing, while a bore gauge reports local diameters. A hole can measure in tolerance and still reject a plug.
How often should a setting ring be calibrated?
Set the interval by use and risk, and record it in the gauge calibration system. A ring that sees daily use, or that is dropped, should be checked sooner than one kept in a cabinet.
Can a bore gauge measure a blind hole to the bottom?
Not quite. Every gauge needs its contacts clear of the bottom radius, so the last part of a blind hole is unmeasured. A three-point gauge usually reaches closer to the bottom than a two-point gauge.
What does out-of-round mean on a bore gauge reading?
It is the difference between the largest and smallest diameter readings at one depth. A two-point gauge shows ovality; odd-lobed shapes need a three-point gauge or a roundness instrument.
Sources
- Quick Guide to Precision Measuring Instruments, catalog E11003(6), Mitutoyo Corporation, 2021
- ASME Y14.5, Dimensioning and Tolerancing, ASME, 2018 edition (reaffirmed 2024), accessed November 2026